Kubernetes Cluster Maintenance

Kubernetes is an open-source container orchestration system that allows you to deploy, manage, and scale containerized applications. In a Kubernetes cluster, multiple nodes work together to ensure that your applications are running correctly. However, maintaining a Kubernetes cluster can be challenging, especially when it comes to upgrading, backing up, restoring data, and scaling the cluster. In this blog post, we will walk you through the steps required to perform these tasks on a Kubernetes cluster.
Upgrading the Cluster
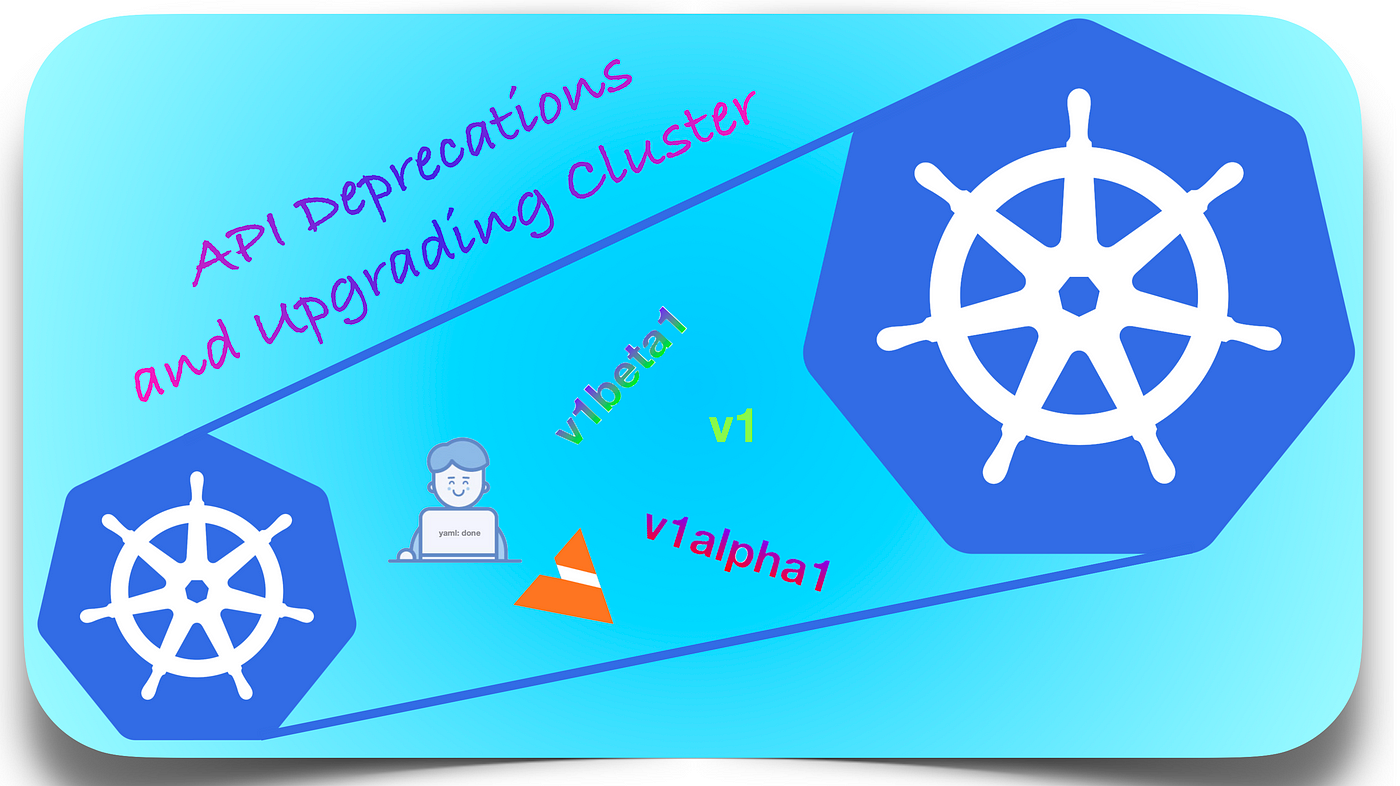
Upgrading a Kubernetes cluster involves updating the software running on the master and worker nodes. Before upgrading the cluster, it is essential to create a backup of the existing data and configuration to avoid data loss in case of any issues during the upgrade. Here are the steps to upgrade your Kubernetes cluster:
Step 1: Backup Kubernetes Configuration and Data
To backup the Kubernetes configuration and data, use the following commands:
$ kubectl config view > backup/kube-config.yaml
$ kubectl cluster-info dump > backup/kube-cluster-dump.yaml
Step 2: Upgrade the Kubernetes Control Plane
To upgrade the Kubernetes control plane, use the following commands:
$ kubectl drain <node-name> --ignore-daemonsets
$ kubeadm upgrade plan
$ kubeadm upgrade apply v1.21.0
Step 3: Upgrade the Worker Nodes
To upgrade the worker nodes, use the following commands:
$ kubectl drain <node-name> --ignore-daemonsets
$ apt update && apt upgrade -y
$ reboot
Step 4: Uncordon the Nodes
After upgrading the control plane and worker nodes, you need to uncordon the nodes to allow pods to be scheduled. Use the following command to uncordon the nodes:
$ kubectl uncordon <node-name>
Backing Up and Restoring Data
Backing up and restoring data in a Kubernetes cluster involves creating a snapshot of the data and restoring it in case of data loss or corruption. Kubernetes provides several mechanisms for backing up and restoring data, including etcd backups and snapshotting persistent volumes. Here are the steps to back up and restore data in your Kubernetes cluster:
Step 1: Backup etcd Data
To backup the etcd data, use the following command:
$ ETCDCTL_API=3 etcdctl --endpoints=<etcd-endpoints> snapshot save <backup-file>
Step 2: Restore etcd Data
To restore the etcd data, use the following command:
$ kubeadm init --config <config-file> --upload-certs
$ kubeadm alpha certs renew all
$ ETCDCTL_API=3 etcdctl --endpoints=<etcd-endpoints> snapshot restore <backup-file>
$ kubeadm upgrade apply v1.21.0
Step 3: Backup Persistent Volumes
To backup persistent volumes, use the following command:
$ kubectl get pv -o yaml > backup/pv.yaml
Step 4: Restore Persistent Volumes
To restore persistent volumes, use the following command:
$ kubectl apply -f backup/pv.yaml
Scaling the Cluster
Scaling a Kubernetes cluster involves adding or removing nodes from the cluster to increase or decrease its capacity. Kubernetes provides several mechanisms for scaling a cluster, including horizontal pod autoscaling (HPA) and vertical pod autoscaling (VPA). Here are the steps to scale your Kubernetes cluster:
Step 1: Add Nodes to the Cluster
To add nodes to the cluster, you need to install Kubernetes on the new nodes and then join them to the existing cluster. Here are the steps to join a new node to the cluster:
Install Kubernetes on the new node by following the installation instructions for your operating system.
Generate a token on the master node using the following command:
$ kubeadm token createRetrieve the master node's IP address and port using the following command:
$ kubectl cluster-infoJoin the new node to the cluster using the following command:
$ kubeadm join <master-node-ip>:<master-node-port> --token <token> --discovery-token-ca-cert-hash <hash>Replace
<master-node-ip>and<master-node-port>with the IP address and port of the master node,<token>with the token generated in step 2, and<hash>with the discovery-token-ca-cert-hash value displayed in the output of thekubeadm initcommand.Verify that the new node has been added to the cluster by running the following command on the master node:
$ kubectl get nodes
Step 2: Configure Autoscaling
Kubernetes provides two types of autoscaling: horizontal pod autoscaling (HPA) and vertical pod autoscaling (VPA). HPA scales the number of pods based on CPU or memory usage, while VPA adjusts the CPU and memory limits of pods based on their usage. Here are the steps to configure autoscaling:
Horizontal Pod Autoscaling (HPA)
To enable HPA, you need to create a HorizontalPodAutoscaler object for your deployment or replica set. Here are the steps to create an HPA object:
Create a deployment or replica set using the following command:
$ kubectl create deployment my-app --image=my-image --replicas=3Create an HPA object for the deployment or replica set using the following command:
$ kubectl autoscale deployment my-app --cpu-percent=50 --min=1 --max=10This command creates an HPA object that scales the number of replicas between 1 and 10 based on CPU usage. If the CPU usage of the pods exceeds 50%, the HPA object increases the number of replicas, and if it falls below 50%, it decreases the number of replicas.
Vertical Pod Autoscaling (VPA)
To enable VPA, you need to install the Vertical Pod Autoscaler admission controller and configure it for your cluster. Here are the steps to configure VPA:
Install the VPA admission controller using the following command:
$ kubectl apply -f https://github.com/kubernetes/autoscaler/releases/download/vertical-pod-autoscaler-0.9.1/vertical-pod-autoscaler.yamlConfigure the VPA admission controller by creating a VPA object for your deployment or replica set using the following command:
$ kubectl apply -f https://raw.githubusercontent.com/kubernetes/autoscaler/master/vertical-pod-autoscaler/examples/basic-deployment.yamlThis command creates a VPA object for a basic deployment that adjusts the CPU and memory limits of the pods based on their usage.
Step 3: Verify Autoscaling
To verify that autoscaling is working correctly, you can use the following commands:
Horizontal Pod Autoscaling (HPA)
To view the status of the HPA object, use the following command:
$ kubectl get hpaThis command displays the current number of replicas, the target CPU utilization, and the minimum and maximum number of replicas specified in the HPA object.
To generate load on the pods and trigger autoscaling, you can use the following command:
$ kubectl run -it --rm load-generator --image=busybox /bin/shThis command creates a busybox pod and runs an infinite loop that generates load on the pods.
Vertical Pod Autoscaling (VPA)
To view the status of the VPA object, use the following command:
$ kubectl describe vpaThis command displays the current CPU and memory limits of the pods and the recommended limits calculated by the VPA admission controller.
To generate load on the pods and trigger autoscaling, you can use the same command as for HPA.
Conclusion
Kubernetes cluster maintenance is essential to keep your containerized applications running smoothly and efficiently. Upgrading your cluster ensures that you are running the latest version of Kubernetes, with all the latest features and bug fixes. Backing up and restoring data helps you recover from data loss or corruption, ensuring that your applications and services are always available. Finally, scaling your cluster allows you to increase or decrease the capacity of your cluster to meet the demands of your applications and users.
Kubernetes provides several tools and mechanisms to perform these tasks, and we have discussed some of them in this blog post, including upgrading the cluster, backing up and restoring data, and scaling the cluster using horizontal and vertical pod autoscaling. By following these steps, you can maintain a healthy and efficient Kubernetes cluster that provides reliable and scalable services to your users.

Thank you for reading this Blog. Hope you learned something new today! If you found this blog helpful, please like, share, and follow me for more blog posts like this in the future.
If you have some suggestions I am happy to learn with you.
I would love to connect with you on LinkedIn
Meet you in the next blog....till then Stay Safe ➕ Stay Healthy
#HappyLearning #Kubernetes #KubernetesCluster #ClusterMaintenance #UpgradingCluster #BackupData #RestoreData #ScalingCluster #HorizontalPodAutoscaling #VerticalPodAutoscaling #ContainerOrchestration #ContainerizedApplications #CloudComputing #devops #Kubeweek #KubeWeekChallenge #TrainWithShubham #KubeWeek_Challenge #kubeweek_day6


